-
Another - high brightness LED (HBLED) aquarium lamp

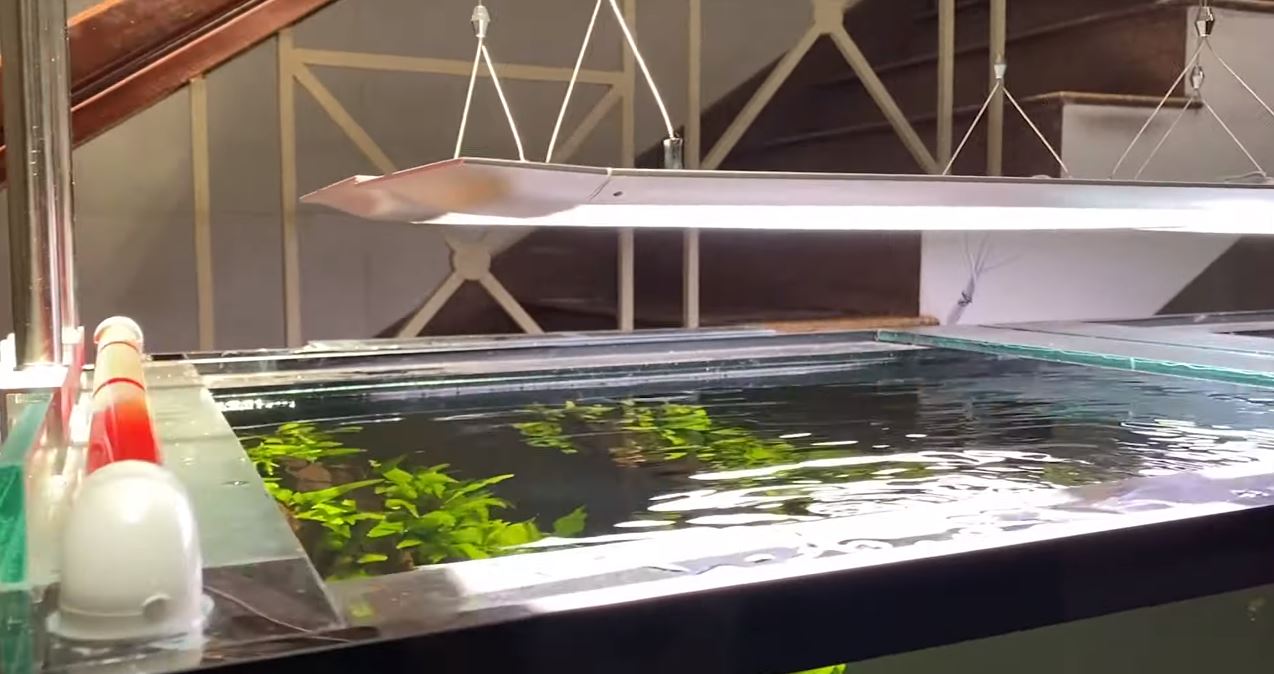
This instructable shows how to design and build a very bright LED lamp for your 125 gallon aquarium. What makes this instructable different from others that has gone before is that I was using HBLEDs instead of conventional LEDs.
I found a new HBLED from Optek are much less expensive than the very highest power LEDs. The Optek LED is around 50 cents in amounts of 100+. The LED lights up small at only 3.5 mm square. But the LED kicks, a 1/2 watt light. There are some drawbacks to these LEDs. First, they are surface mount. Second, they need to be attached to some sort of heat sink.
A couple of things that make the lamp featured here really cool. First, the lamp is made of glass by sandwiching LEDs between two pains. The glass acts like a really good heat sink. The glass sandwich is also sealed to make the edge waterproof. Second, the lamp is almost entirely made of glass. Plus, since the HBLEDs are very small, they don't obstruct other aquarium light. This allows us to simply use the new LED lamp and continue to use existing aquarium lights that you already have.
The rest of this instructable will discuss designing the 14 watt HBLED lamp for your aquarium.
Step 1: design LED carrier PCB
The Optek LED is surface-mounted and has to be mounted on some kind of circuit board. I designed the following carrier board to be as user friendly as possible. In addition, the board needs to facilitate heat transfer. The usefulness of life can only be guaranteed if the LED does not get too hot.
The carrier board is flat on the back so that it can be thermally bonded to a heat sink. The board also allows wires to be soldered along the edge of the board. Lastly, the board has large thermal pads that help wick away the heat and transfer it to the heat sink.
Check out the attached pictures for more details.
Step 2: lower & build lamp
A better way than to use a glass plate for heat transfer. The glass plate transfers the heat very well. The glass is also inexpensive - glass plate is less expensive than plexiglass. I just got some picture frame glass that I already had routed around the house. I cut two sheets of 18 "x 3 1/2" with the idea of sealing the LEDs between the two sheets. The open gap around the edge of the glass is then sealed with a grain of silicone sealant. Once sealed, the glass seems very solid - the two panels glued together makes them much stronger.
During assembly, the LED carrier cards are glued super-directly onto the glass. I have a total of 24 LEDs. Of the 24 LEDs 5 are warm white and 19 are blue. This gives me 125 lumens of warm white and 114 lumens of blue.
Step 3: design & build the LED current regulator
The maximum amount of light from LEDs to each 150mAh of electricity needs. Without a regulator, this is difficult to achieve. As LEDs warm up their voltage changes to sweet spot. So, the voltage has to keep 150mAh flowing continuously. The alternative is to be conservative and add a large current limiting resistance. The current limiting resistor is not a very elegant design.
I ended up with six LEDs in series with an LM317 regulator. The controller is wired / configured to regulate current in this application. Check out the Attach Sketch & Pictures for more details.
Step 4: completion
The design discussed here uses a 24 volt / 600mA / 14 watt wall mounted power supply ($ 10 from Mouser). Of these 14 watts, we deliver 12 watts to the LEDs in the aquarium. The remaining two watts are consumed in the current regulator.
Using a thermometer, I measured the LED temperature at peak times around 105 degrees F. This temperature was taken on the outside of the glass. The current regulator housing (closed) peak at 110 degrees F and supply power peaks at 115. So all three temperatures are just lukewarm. Nothing gets really hot.
I hope this helps others who may be thinking of designing applications with HBLEDs.
For more information, please visit my website at "Ph-elec.com". I am available to anyone who might be of interest to the HBLED carrier.
Many thanks,
Jim
-
Commentaires
|
|
|
|